Top Ten Grilling Tips
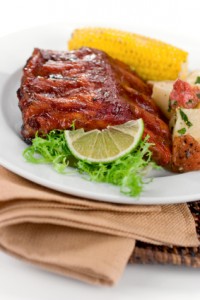 Ahhh, it’s summer time and there’s nothing quite like the perfect grilled steak, burgers, franks, chicken, fish or rack of pork ribs. Grilling brings out an imparts a unique flavor in meats. The slightly charred, smokey flavor really adds to the experience. Not only is grilled food delicious, but it can also be a fun way to cook that doesn’t heat up your home.
Traditionally we grill foods at family barbecues, summer parties, on a camping trip or for some folks, any day of the week, weather permitting. Unlike pan frying or roasting, there’s something very tactile about grilling food. Have you noticed everyone seems to have their own style of grilling foods? Some people do it with great flair, while others are more methodical in their technique.
The art of grilling foods to perfection is every bit as complex as cooking other kinds of dishes. On the surface, it looks like you just throw a slab of meat on top of a grill. In reality however, there’s quite a lot of thought and planning that goes into the perfect grilled meal.
Here are ten top tips to help you achieve that perfect, mouth watering grilled meat experience.
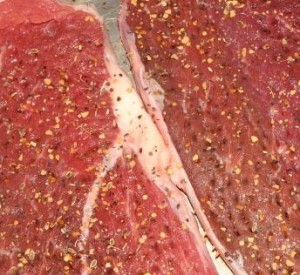 Tip #1: Start With High Quality Meat
If you don’t have high quality meat, it’s very hard to make the meat taste great. It won’t hold flavor as well, the meat won’t be as tender and sometimes it’ll be downright tough. High quality meat is slightly more expensive, but it makes a big difference.
Buy meats from butchers rather than from packaged meats. Packaging traps moisture inside the meat due to the nature of the packaging, which changes the meat’s texture.
If you’re buying steaks, buy Certified Black Angus or USDA Prime. For other kinds of meat or cuts, look for grass fed beef or free range chicken. Quality makes a difference so purchase the best you can afford.
Your grill should be arranged so there are more coals either on one side than the other, or more coals in the center and fewer on the outsides. For gas barbecues you’d have one side hotter than the other. In other words, there should be an area of your grill that’s blazing hot and another area that’s a bit cooler.
Start by searing your foods in the hottest area. This helps “lock in” the juices and flavor. It helps develop the outer crisp of crunchy juicy flavor. However, you don’t want to actually cook your meat on this high heat, as it’ll burn.
So sear your meats on the high heat portion of your grill first, then move the meat to the side and let it slowly cook the inside.
 Tip #3: A Myriad of Ways to Flavor
There are so many different ways you can add flavor to grilled meats.
To get the richest flavor throughout the meat, marinate it overnight. The acidic nature of marinades causes its flavors to really penetrate into the meat. There are many different kinds of marinades you can use. You can buy them ready made, or make your own.
Alternatively, you can use dry rubs or wet rubs. You can simply sprinkle the meat with onion powder, garlic power, black pepper and herbs, then using your hands massage the spices into the meats. Do this 2-4 hours before grill time to let the flavor sink in.
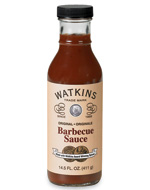
Finally, the simplest flavoring is to just use a brush to apply barbecue sauce. Brushing on a ready made sauce is a simple way to make great tasting grilled food without a lot of prep time. Just make sure to put the barbecue sauce on on near the end of your cooking time because it can burn more easily.
 Tip #4: Don’t Inundate Yourself With Tools
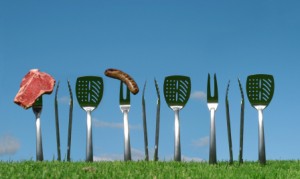
Having too many grilling tools will just take up space, waste money and make it easy to confuse yourself and your guests. You really only need a few tools for a fantastic grilling experience.
A good grill brush. This will be used to apply barbecue sauces and/or glazes. Grill brushes are designed not to get brittle over time. Don’t try to apply sauces with other utensils and definitely not a paint brush!
A high quality spatula or two. Your spatula should be made of metal, not plastic or wood so it won’t melt or catch fire. The spatula should have a very thin edge to make it easy to slide under foods. Having two spatulas makes it easy to press down on foods and flip at the same time, though you really only need one.
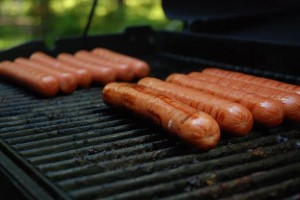
Your tongs are your primary tool of choice. These are what you’ll use to flip franks, sausages, chicken, etc. Get a short pair of tongs if you want more control and get a longer pair of tongs if you want more distance from the fire. If you plan on having kids doing some grilling, get a long pair of tongs just in case.
 Tip #5: Safety, Safety, Safety
There’s nothing worse than a fantastic grilled meal that ends in food poisoning. Anytime you’re grilling food, make sure to think of safety first.
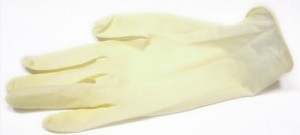
Avoid cross contamination. If a spatula or tongs touches raw or even rare meat, make sure to hold it over the fire for 10 seconds to kill any bacteria. Avoid touching raw meats and then touching other foods, plates or utensils. Disposable gloves are useful for handling raw meats. Use a meat thermometer to ensure the meat is cooked enough.
To avoid starting an unwanted fire keep your grill away from wooden surfaces and plants. Make sure there are no shrubs nearby, no trees and no wooden furniture nearby. Have a fire extinguisher nearby anytime you’re grilling. Don’t skimp on your grilling safety!
Unlike stoves, which automatically switch on to the right temperature, grill temperatures are up to you to gauge. You decide when it’s hot enough and you decide when it’s too hot.
So how do you know when your grill is ready to go?
The easiest test is the “Mississippi Test.” Just hold your hand over the grill (about four inches) and count, from “One Mississippi” to “Two Mississippi” up. If you can hold your hand for more than four Mississippis, the fire isn’t hot enough.
On the other hand, if you can’t even get your hand close enough to count “One Mississippi,” the grill is probably too hot.
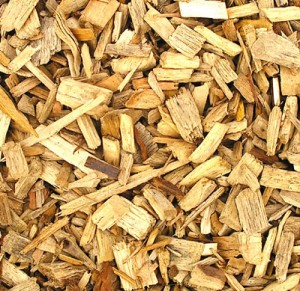
Grilling on a gas barbecue doesn’t add that smoky, grilled taste that so many people crave. To get that smoky flavor, you can use wood chips, place a few hands full in a foil container on your grill. Chips burn up in about 10 minutes and shouldn’t be used for longer cooking items.
White Cedar and Golden Birch woods are great choices for seafoods like grilled salmon. For chicken, Sugar Maple and Wild Apple are both good choices. Atlantic Olive, Mountain Mesquite and Black Cherry are good choices for beef and other kinds of dense meats like pork ribs or lamb chops.
 Tip#8: Clean Your Grill Right Away
It’s tempting to wait to clean your grill. If there’s a party going on, who wants to take the time to scrub out a grill right then and there?
Even if you don’t clean anything else at the party however, you should still clean your grill right after you’re done grilling.
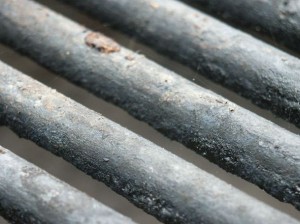
Fats harden after the grill has time to cool down. Bits of food get stuck to the grill and get very difficult to scrape off. Animals and pests will be attracted to the grill if you leave it uncleaned for too long.
The easiest time to clean your grill is when it’s still hot. Just take 2 minutes to clean the grill right after you’re done grilling, instead of 20 minutes of scrubbing later down the line.
 Tip #9: Resist the Urge to Keep Checking
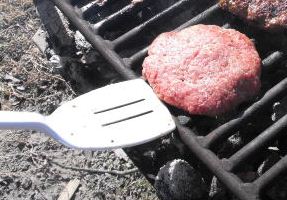
Don’t continually flip your food over to see the other side. Don’t stab it with a toothpick to check the insides every 5 minutes.
The best part of grilled foods is the outer crust. That’s where all the juices are. That’s where all the glazing, the marinade or the rub is. If you break it or disrupt it too much, the flavor will be dispersed.
If you’re using a recipe, check the temperature of your grill and only turn your foods when the recipe tells you to. Otherwise, only turn it over once grill marks are visible on one side of the meat.
 Tip #10: Remove it Before It’s 100% Cooked
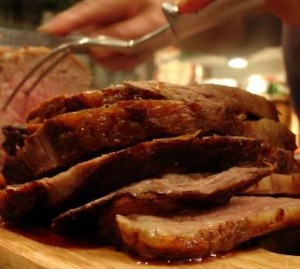
Remember that food still cooks after it’s off the grill. Factor in about 3 to 5 minutes of extra cooking time after the food comes off the grill and a few minutes rest time before serving allows the juices to settle.
To check steaks for doneness, just use your finger to poke the surface of the meat. The more firm, the more cooked it is. For chicken, use a skewer and poke through the center of the piece. If it goes through easily and the juice is clear, it’s cooked. For seafood, the fish should be completely opaque.
These ten grilling tips will help you churn out fantastic grilled delights for any occasion!





No Comments Yet.